Our IKEA Besta cabinets!
I promised a tutorial on what we purchased and how we assembled them, so here it is.

One year ago we moved the tv on a different wall in the living room and I envisioned a floating media center ++++ just like this.+++

Let's do this....

First stop was to IKEA


I wanted the cabinets with the most height at 25 1/4.
In the picture above they are second from the top.

You have the option of adding shelves. We chose two weathered wood shelves for each cabinet.

Then we wrote down the cabinet doors AISLE and BIN numbers.
IKEA has so many colors to choose from in order to customize the Besta units.
We chose
"Lappkiven White" to match the cabinet base.


Almost done boys!
We headed to checkout with :
-5 cabinet bases
-5 cabinet doors
- 5 soft closed hinges
- 10 shelves
IKEA includes the tools to assemble to the wall, but my husband purchased other supporting anchors as well.

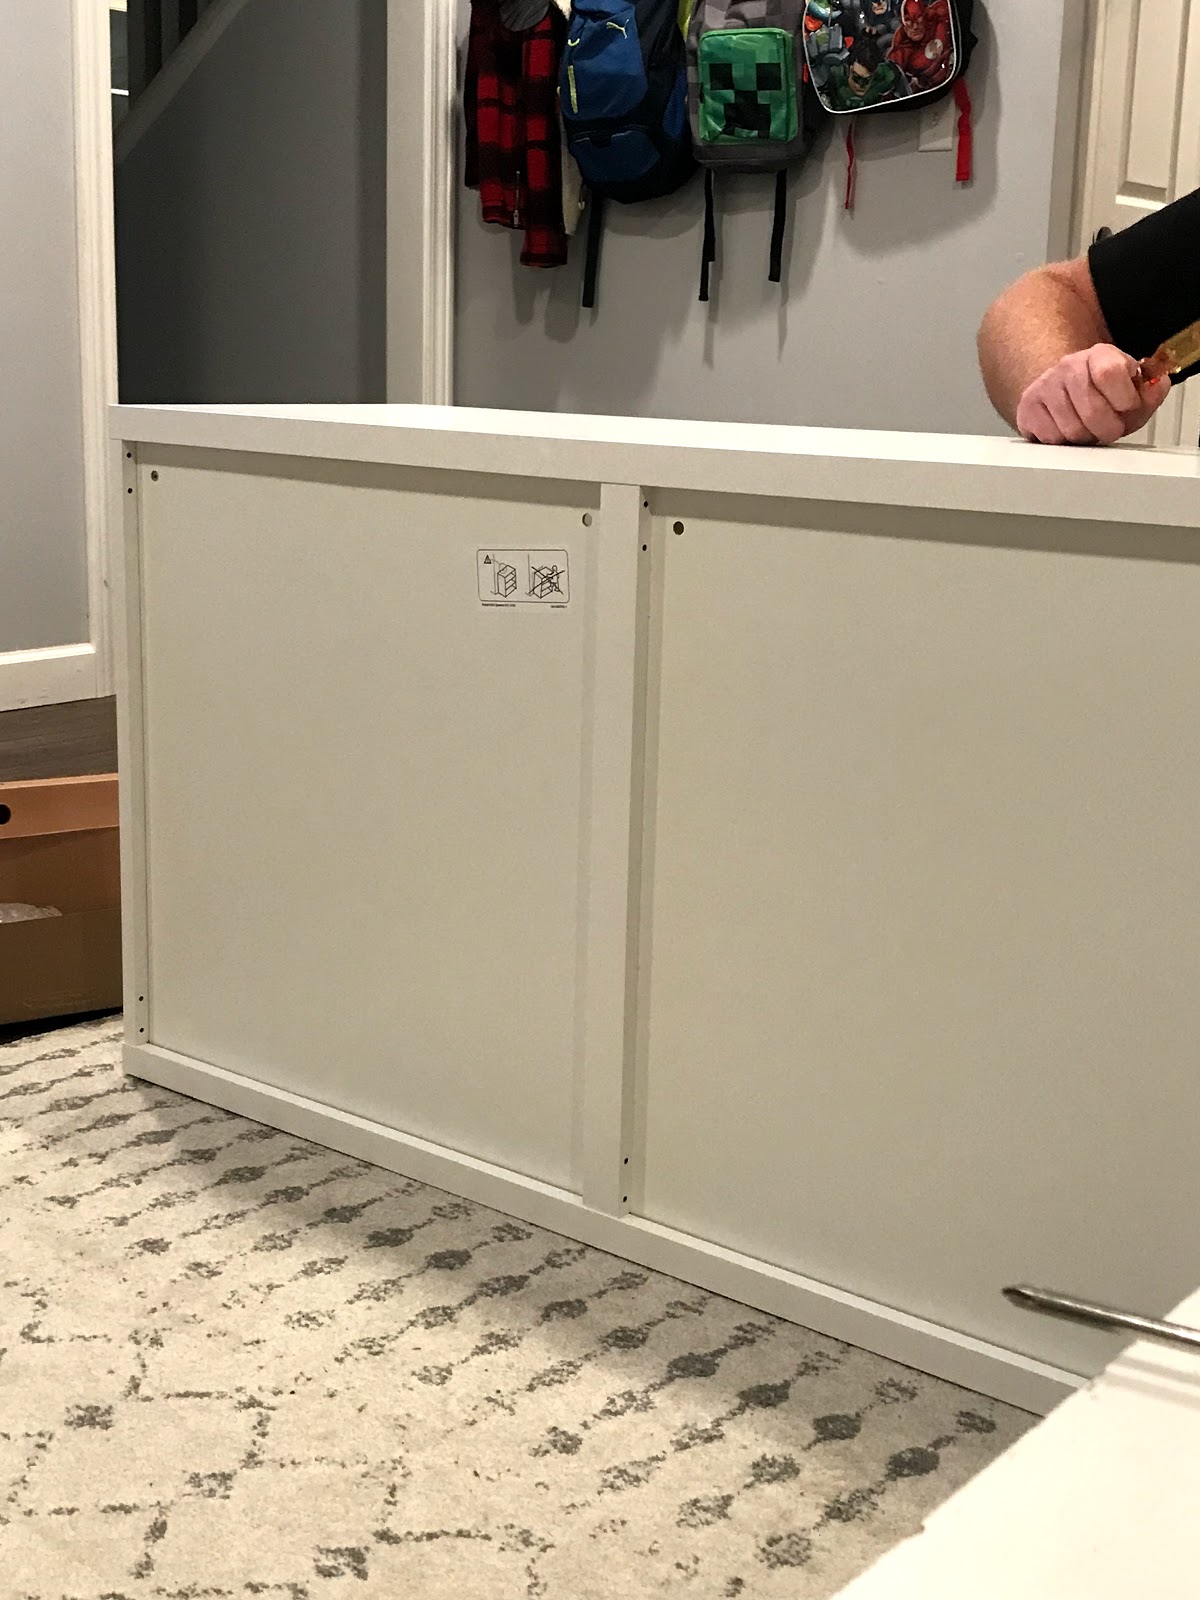
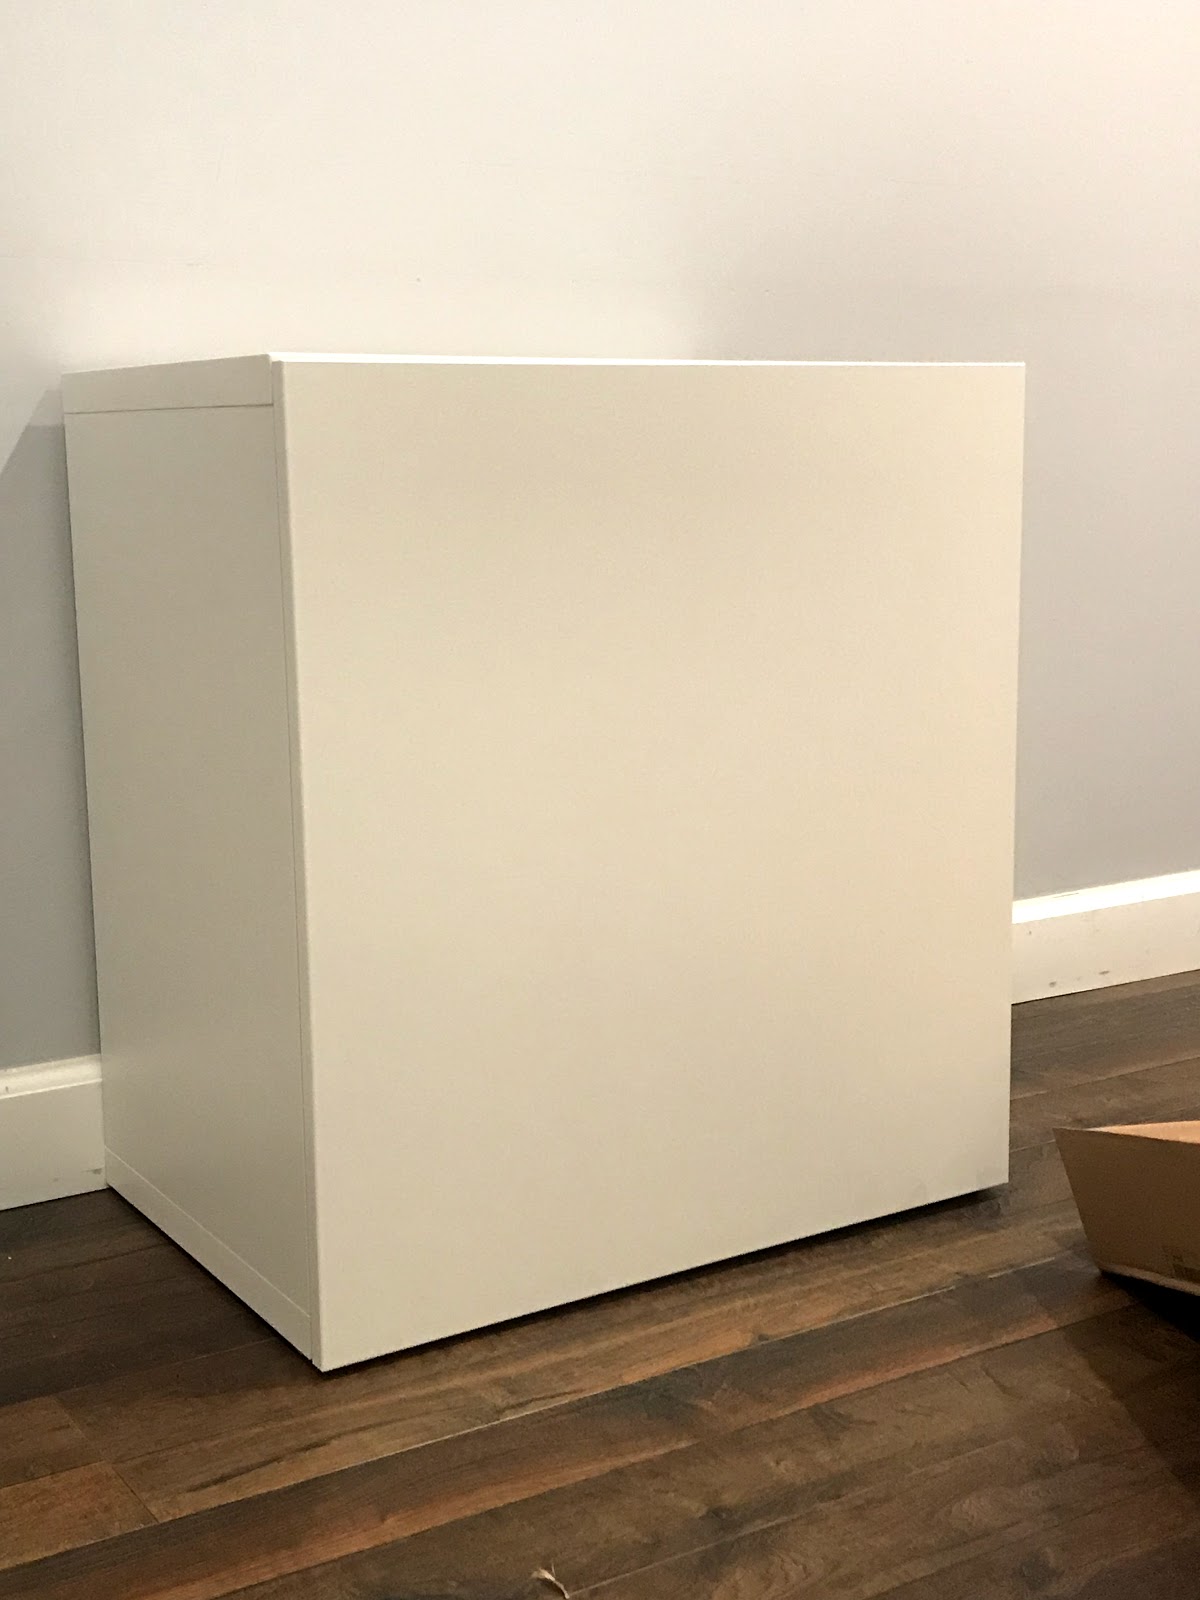
Let the assembling begin!
After they are all assembled then the wall mount goes up. It's like a railing system that all the cabinets slide right onto.
Alright they are ready to get them up on the wall!
The single unit when up first aligned with the center of the TV.
//How we hid the HDMI cord//
Before we put it up on the wall we cut hole in the back of the cabinet for the HDMI cord. The HDMI cord was strung from the tv + thru the wall + so two holes were cut on the wall + then the cord was brought back in thru the cabinet for the dvd player.

Then the other cabinets literally slide into place on each side of the single cabinet.
A N D they're UP!


To complete the look I later added the sconces from All Modern. With the magic light trick + meaning no hardwiring was involved. Each light has a battery operated puck light that can be turned on and off or dimmed by a remote. Voila!


Hope this helps anyone looking to add floating cabinets to their space!
No comments:
Post a Comment